
Why & How to Use Figma Make
If your product team isn’t experimenting with Figma Make yet, you might be missing out on the next big evolution in how design teams move from idea to interaction.
We’ve been testing it intensively at The Good Side — and while it’s not perfect, it’s changing how we think about early-stage design.
Here’s a breakdown of how we use it, what actually works, and what real users have been saying about it across the web.
🤔 Why This Matters

For teams building complex, data-driven software, speed matters — but alignment matters more.
You can’t explain every design detail in a ticket or Slack thread. You need something visual that behaves like the real thing.
That’s what Figma Make delivers: you describe what you want, and it builds a working mock-app you can click through and refine.
It’s not perfect — but it’s fast, surprisingly smart, and gets everyone on the same page.
🚩 The Problem
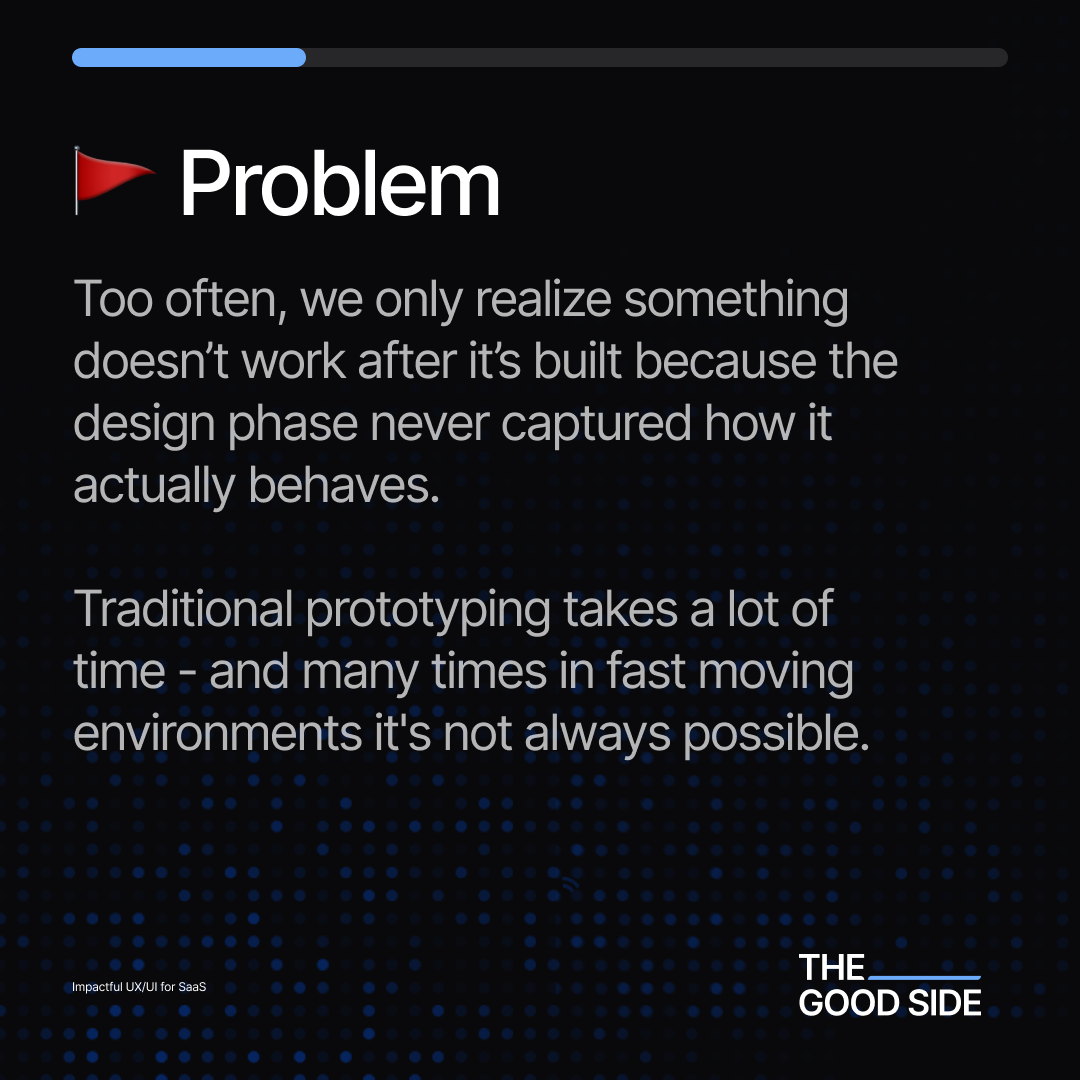
Most teams only find out something doesn’t work after it’s built.
By then, it’s too late — the fix is expensive and the motivation to improve fades.
Traditional prototyping is powerful but slow. In fast-moving SaaS teams, that time rarely exists.
So features go live untested. The product “works,” but feels off.
That’s where tools like Figma Make enter the picture — turning ideas into working prototypes before code ever happens.
💡 The Shift
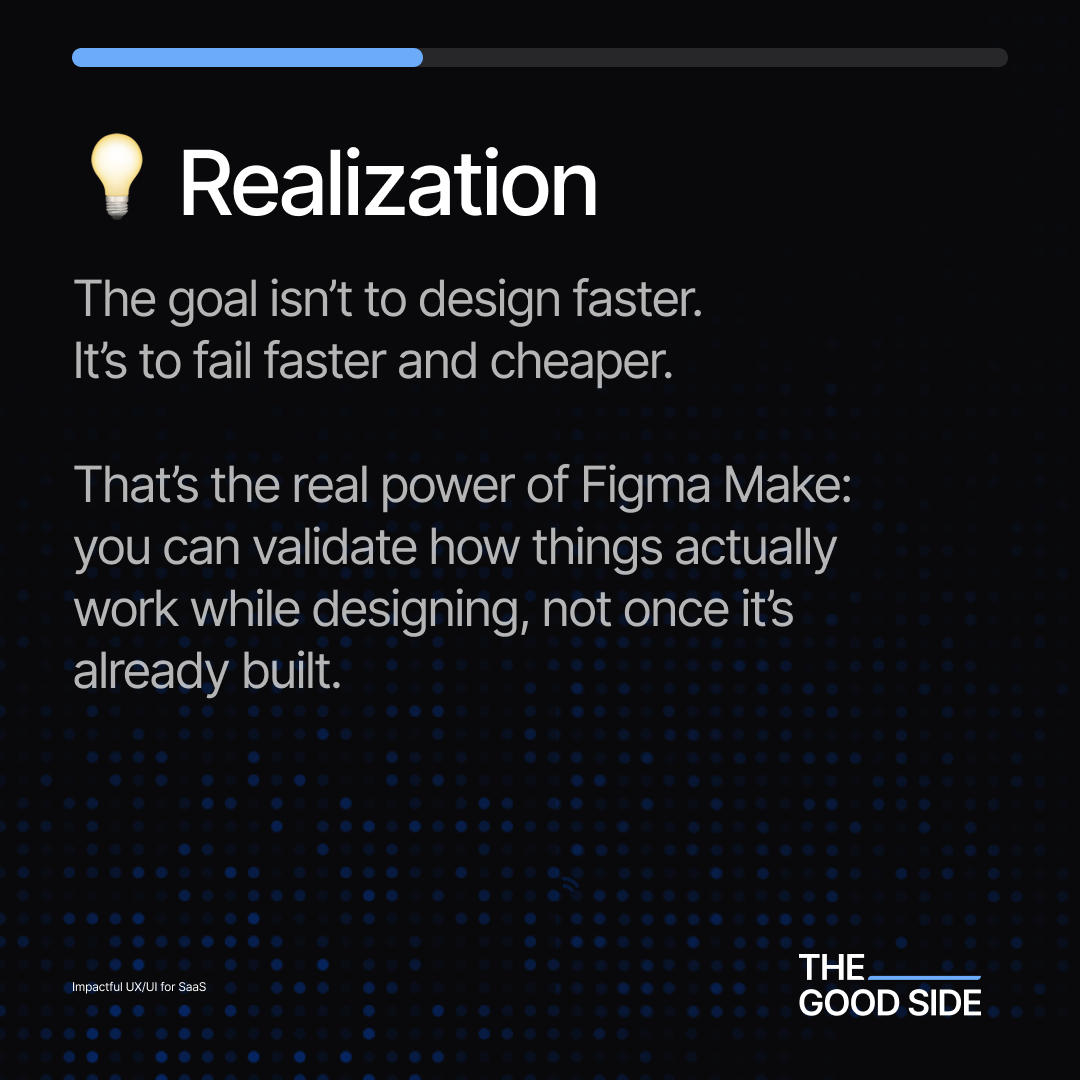
The goal isn’t to “design faster.”
It’s to fail faster and cheaper.
As one Figma community designer put it:
“The more context you include in your prompt, the fewer follow-ups you’ll need.”
It’s not magic — it’s context-driven design.
Give it structure, and it pays you back in speed and insight.
🧩 Step 1 — Set Up Your System
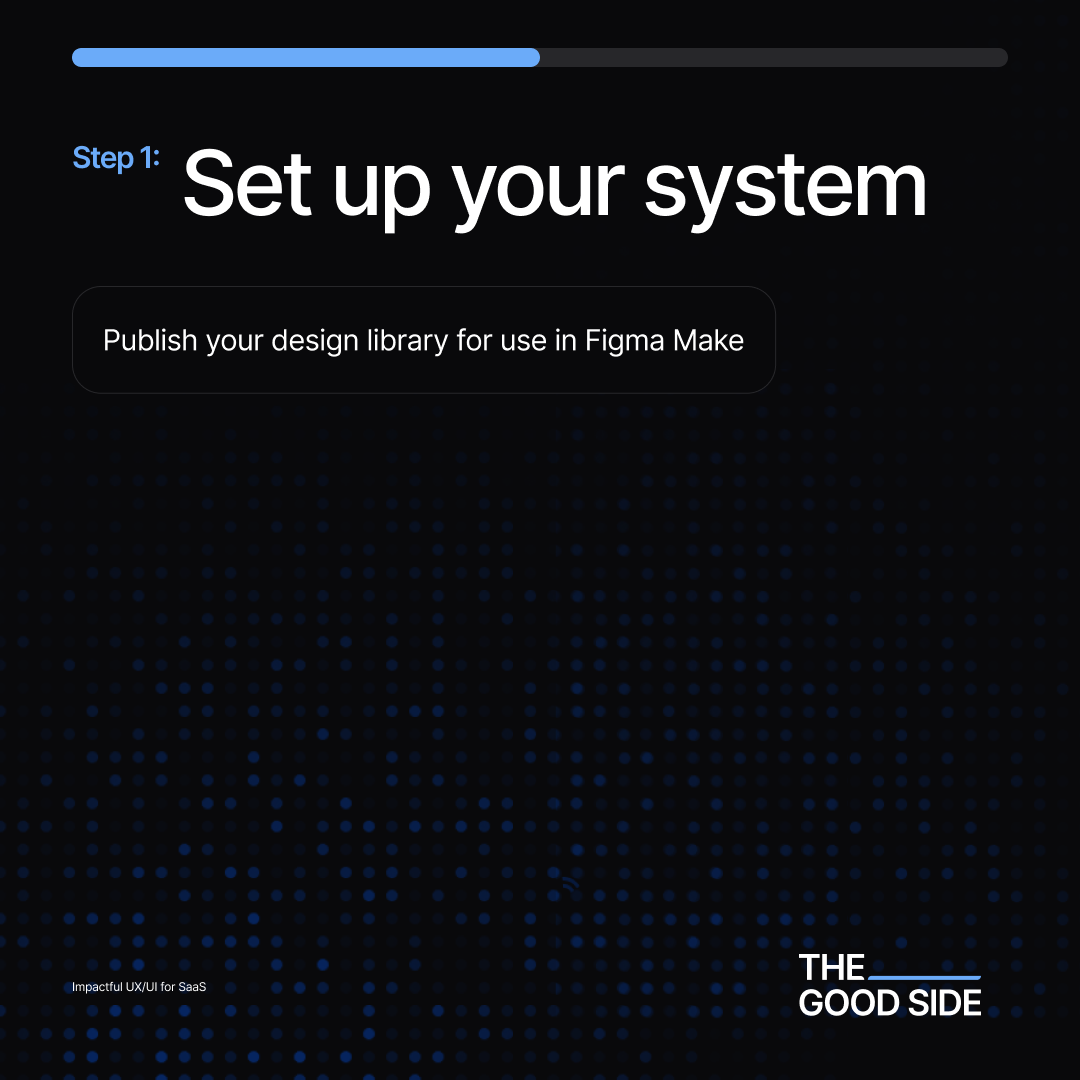
Start with your design library.
Publish your components, styles, and tokens for use in Figma Make.
This ensures whatever the AI generates follows your actual design language — not a generic one.
💬 Pro tip from Reddit:
Designers found that when frames use Auto Layout and consistent naming, Make’s output is far more accurate.
If you feed it messy files, you’ll get messy results.
🧱 Step 2 — Build Your Layout
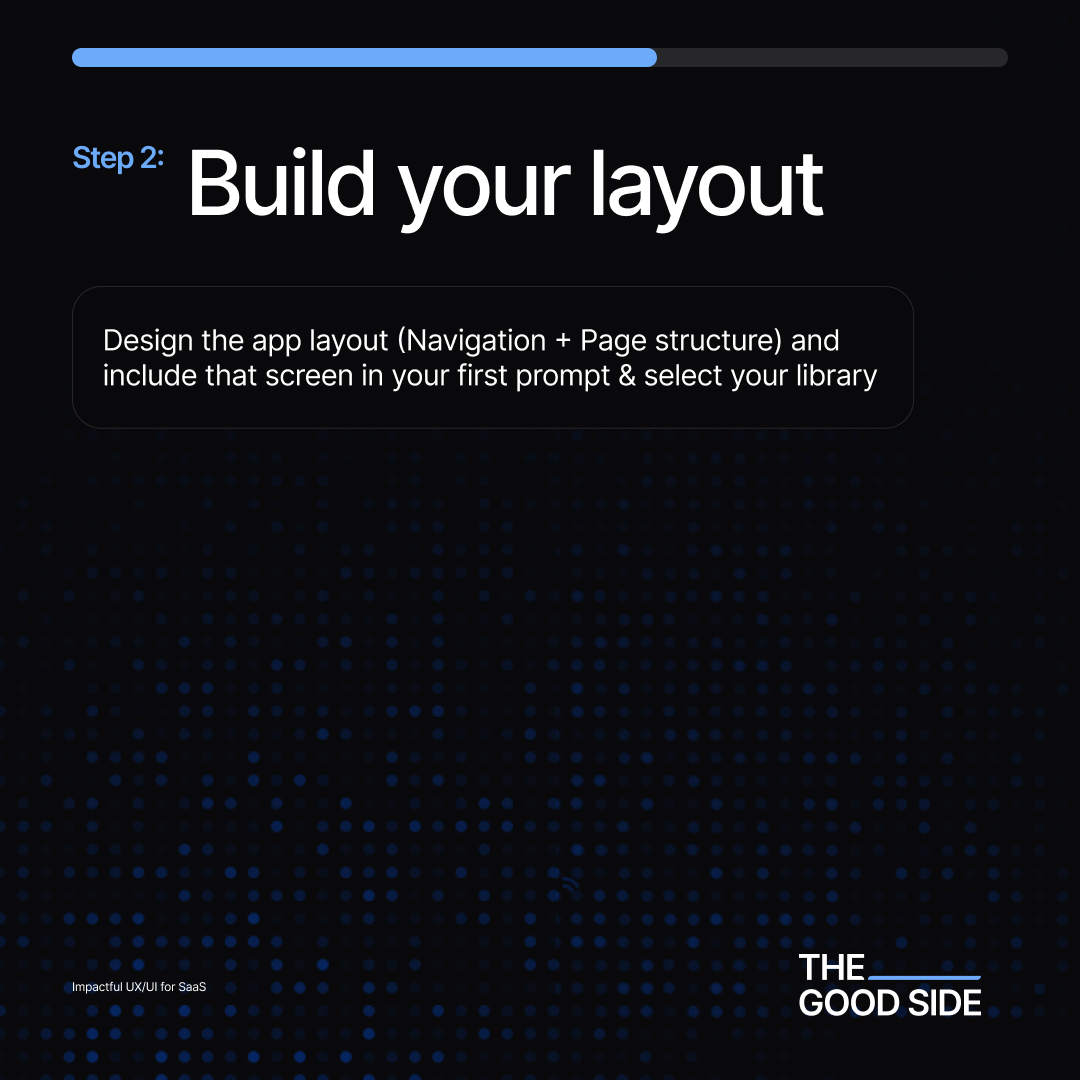
Design the main app layout — navigation, sidebars, content areas — and include that screen in your first prompt.
Select your library so Figma Make knows what components to use.
Think of this as building the skeleton before adding motion and logic.
💬 Community insight:
Some teams report that Make occasionally struggles with layout hierarchy — so it helps to start simple, test, and gradually increase complexity instead of trying to auto-generate an entire dashboard in one go.
🧠 Step 3 — Load It with Context
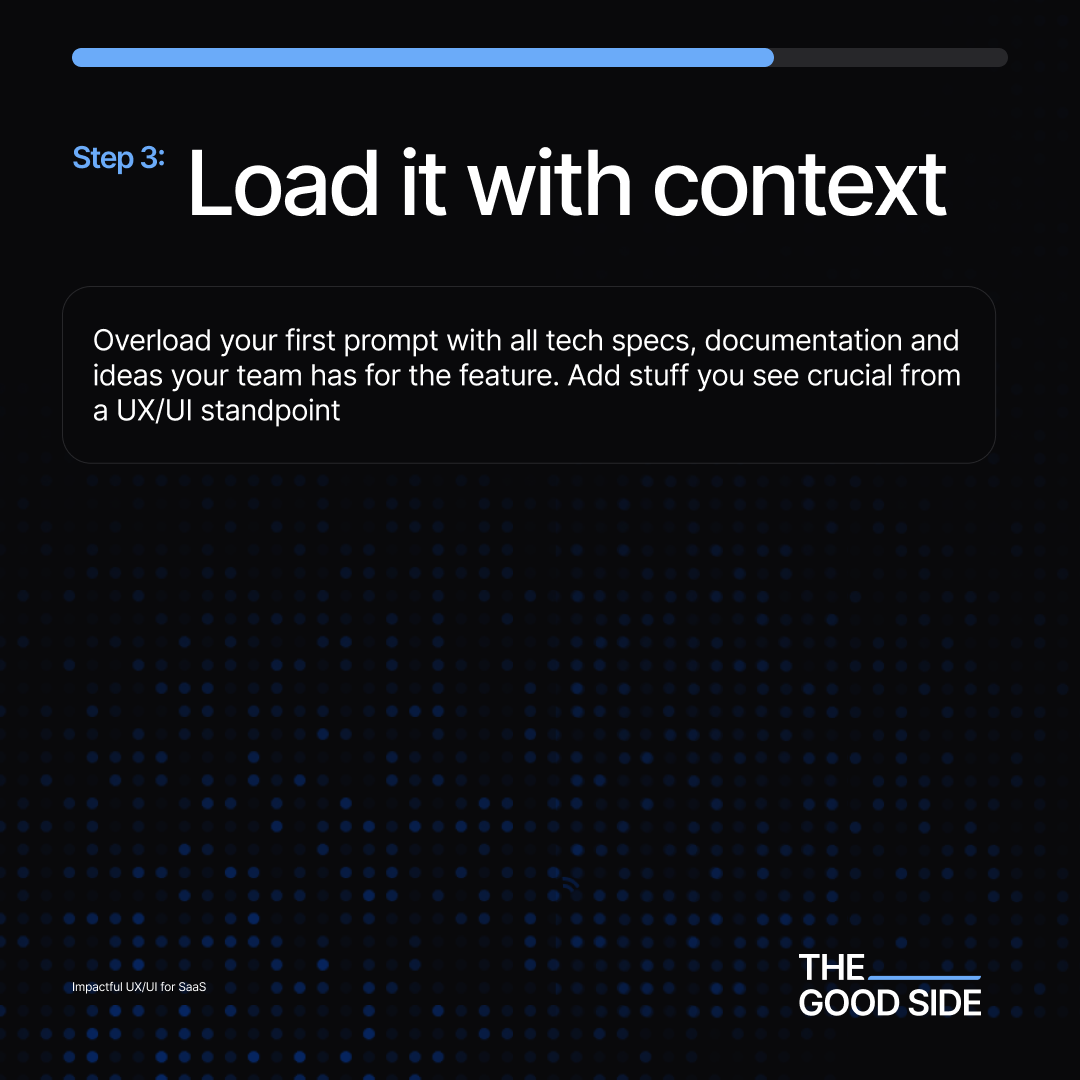
Feed Make everything it needs:
- Feature specs
- Team notes
- Behavior rules
- Interaction examples
The more context, the smarter the prototype.
Figma’s own blog emphasizes that “context is everything.”
The AI’s not designing for you — it’s designing with you.
💬 Forum takeaway:
Several teams found that when they provide clear component naming (like Button/Primary instead of Rectangle 42), Make’s accuracy improves dramatically.
🔁 Step 4 — Iterate

Once your first version is live, don’t stop there.
Adjust flow. Change copy. Add interactions.
Each iteration teaches Make how your system behaves.
A Reddit UX lead summed it up nicely:
“AI tools like Make are great for starting points, not finishing lines. The magic happens when designers loop back with intent.”
Use the AI for velocity — not verdicts.
✅ Step 5 — Validate

Validate early and often.
Share prototypes with engineers, product managers, or even customers.
Then bring the best version into your main design file and polish it using real components.
💬 Real-world note:
Some teams on Figma’s forums report that Make’s output can mis-align frames or spacing slightly — treat that cleanup as part of the process, not a failure.
It’s like sketching on a whiteboard: the point is clarity, not perfection.
🎉 The Result

You validate functionality before development.
You avoid late-stage redesigns.
You get alignment earlier.
The result isn’t just faster shipping — it’s confidence.
You can prototype, test, and refine without dragging engineering into guesswork.
⚠️ What to Watch Out For
Figma Make isn’t a silver bullet yet.
Here’s what users across the web consistently point out:
- Performance can vary — sometimes it generates gold, sometimes chaos.
- It’s still learning to understand nested frames and responsive layouts.
- You’ll still need to clean up, re-align, and connect real components later.
In short: treat it like a junior designer who’s eager but occasionally overconfident.
Still — that’s a trade-off worth making for the speed you gain.
🧾 Final Thought
At The Good Side, our team has seen a big difference since adopting Figma Make.
We’re moving faster, yes — but we’re also thinking visually sooner.
Figma Make doesn’t replace designers.
It amplifies them.
It turns the start of a project from a text brief into a tangible, testable experience.
And for modern product teams, that shift changes everything.
📦 Quick Checklist — Using Figma Make Effectively
- Clean your file: Auto Layout, proper naming, tidy layers.
- Publish your design library before starting.
- Feed Make with context (user goals, behavior, logic).
- Iterate — don’t expect perfection on v1.
- Validate with real users or stakeholders.
- Clean up the result in Figma before handoff.
- Treat Make as your accelerator, not your replacement.
In short:
Figma Make isn’t the future — it’s the bridge to it.
It teaches teams to collaborate visually, think interactively, and fail faster.
If you’ve been waiting for a reason to try it, this is your cue.